UPDATED FEB 2023
I have acquired quite a bit of kitchen equipment, tools and gadgets over the last decade of my raw food journey, and I wanted to share with you my experience and what I recommend to get you started. This article acts as a guideline, what I think is essential, and of course, some fun ones to acquire later on that will make your raw food journey even more exciting.
All the equipment, tools and gadgets recommended I have experience with myself or have done extensive research on. Please note this article does contain some amazon affiliate links.
RAW FOOD CULINARY APPLIANCES
High-Speed Blenders
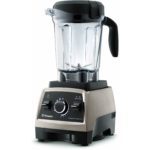
Vitamix
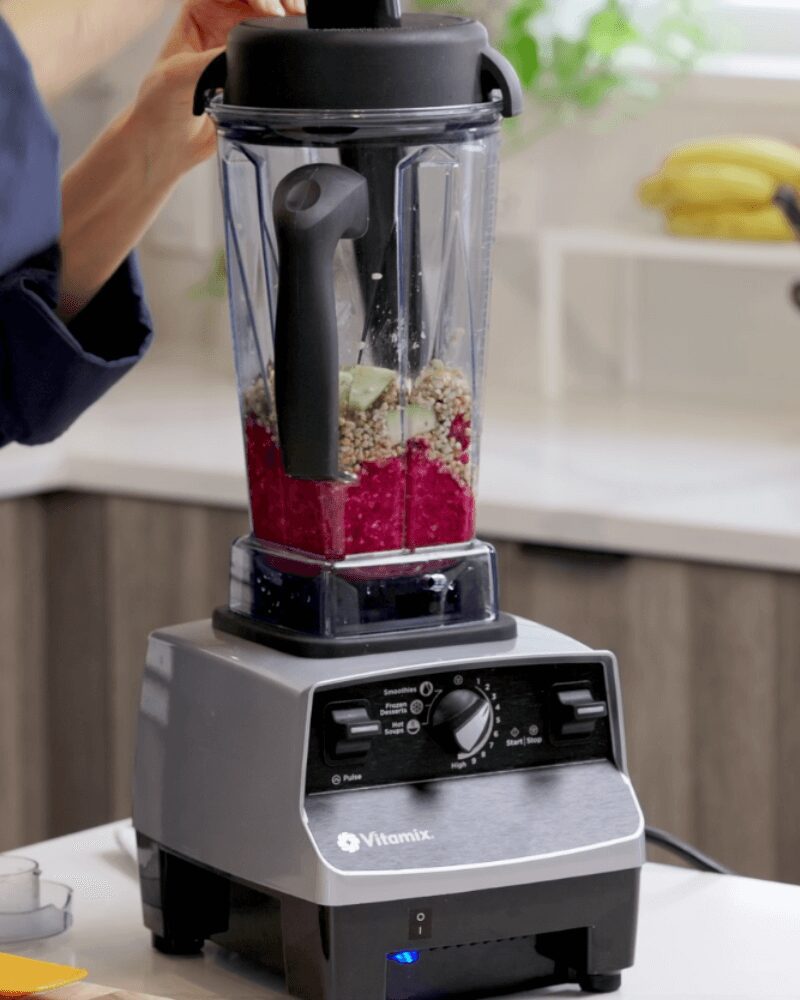
The one appliance I recommend to anyone who wants to start eating more plant-based whole foods is Vitamix! If you are going to start investing in your health, first purchase a high-speed blender. You can do almost everything with a Vitamix; blend, juice, process, make nut butter, sauces, dressings, chocolate and much more! This beast of a blender which is the most popular amongst raw foodies will last you a lifetime, especially with their 10-year warranty.
The model of Vitamix I recommend most is the old school 52oo because it has a narrow base jug so you can make small batches. The new wide-base models are difficult to use with small-batch recipes. You require a large volume to blend them properly. The 5200 is available as new via amazon or reconditioned from Vitamix.
Here are links for the Vitamix models I recommend in certain regions:
There are other brands comparable to Vitamix that operate excellently as high-speed blenders. I have students using these brands who have a good experience with them.
Blendtec
Blendtec is also very popular in the raw food culinary world. I have lots of chef friends who love it more than Vitamix. It’s definitely number two in popularity! The warranty on their classic series are only 2 years but they are very good quality and seem to last a long time. If you purchase a Blendtec, it’s best to also purchase the twister jar if you want to make nut butter, frostings and anything that will be difficult to blend.
Here is where you can purchase the Blendtec:
Omni Blend
Omni Blend is the newer kid on the block and has become very popular, especially in New Zealand and Australia. It has a 5-year warranty and 3 HP motor making it very comparable to Vitamix and Blendtec. I have students who love this blender and it’s a very good price point.
Here is where you can purchase the Blendtec:
Juicer
When I started juicing, I purchased a centrifugal juicer because it’s easy to use and quick to clean. You can put a whole orange and apple in the centrifugal juicer and not have to peel anything or chop them up really small. The only downside to a centrifugal juicer is it operates at a high RPM rate (approx. 1000) and destroys the nutrients through heat and because of this, it oxidizes quicker so you have to drink it right away. Centrifugal juicers also don’t juice greens very well and the pulp is very wet so much juice is still left in the produce.
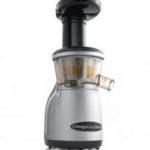
After a year I decided to upgrade to a slow, masticating juicer; specifically the Omega VRT. This style of juicer has an auger that slowly crushes the produce at only an RMP of 80 and the juice is much denser and thicker. I can juice with my Omega and leave it in the fridge in a sealed glass jar for 72 hours. The only downside is you have peel and cut up everything really small, but it juices greens like nobody’s business! I have used this juicer regularly for 5 years with no issues and highly recommend it!
In 2021, Nama released their new large hopper slow masticating juicer; the NAMA J2. This is now the juicer I use every day and recommend! Because of the large hopper design, you do not have to cut up produce small, you can add whole apples, large pieces of vegetables and fruit and it’s quick! I get a lot more yield with this juicer out of any other juicer I’ve tried. because it’s so easy to use and clean, you are more inclined to use it and make healthy, cold-pressed juice for yourself which is a big bonus. This juicer seems to be the most popular at the moment and for good reason.
Food Processor
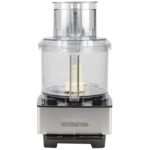
I always tell my students, they do not have to purchase an expensive food processor for making raw foods. I started with a $40 Hamilton Beach food processor from Amazon and used it for 4 years without any issues. The only problem was that it is only 11 cups so I was limited on batch size for recipes. I later upgraded to the Cuisinart 14 cup as stated below.
The Cuisinart 14-cup food processor is the KING of all food processors! I waited a LONG time to purchase this for myself because here in Canada it is very expensive. I’m so happy I purchased this one, it runs like a workhorse! Trust me when I say, you want a 14-cup food processor because anything else is too small for my batch sizes and meal prep.
Dehydrators
Watch my Dehydrator YouTube video HERE.
Excalibur
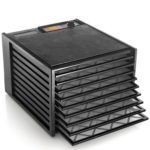
I’ve used the Excalibur dehydrators for 10 years and they still look and operate as brand new. If you ask any raw foodie which dehydrator they recommend, most will recommend Excalibur, and there is a reason for that! Excalibur dehydrators are the best quality for the price, have amazing customer service and product warranty. I had a thermostat go out the week I was starting the farmer’s markets, I called Excalibur, and they sent a replacement overnight. I watched a YouTube video on how to replace it and had it fixed and operational the next day. These dehydrators are super simple to use because of the square tray design. The motor and fan design evenly distributes heat resulting in even dehydration from top to bottom. I personally have two 9-tray dehydrators I use for my meal prep production.
If you purchase an Excalibur dehydrator, it’s best and most efficient to select the 9-tray model. Anything less, you will wish you had the 9 trays because they fill up fast. To save costs, don’t purchase one with a timer, you mostly will not need it. I have never used a timer and you can purchase an external timer from your local hardware store for under $20. You will most likely need some reusable liners such as these ones HERE.
Here are links for Excalibur dehydrators in certain regions:
Commercial Dehydrators
The current dehydrator I’m using is a big step up from the Excalibur’s I’m used to. I was so lucky to receive this one as a gift, you can read all about my experience with Commercial Dehydrators HERE. I have the 16-tray stainless steel model which is best for home use and will fit in most kitchen spaces. It is much quieter and more accurate than the Excalibur and is digital and stainless steel. As a commercial range, they are much less expensive than other commercial brands, making them more affordable for home use. Again, you can read more about it HERE along with a great recipe!
Get 10% off using coupon code: CRYSTALDAWN10
Check them out here! Available in many locations.
Sedona
I also have not used this brand personally, but they are very popular in the raw food community. They are on the pricier side and have different models available, BPA-free to stainless steel and digital options with a 5 to 10-year warranty.
Here are links for Sedona dehydrators in certain regions:
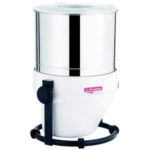
Stone Grinder
This is for those who are serious about making certain ingredients from scratch such as coconut butter, nut and seed butter and stone-ground raw chocolate. This stone grinder was one of my last big purchases because I was so interested in making chocolate. I had a chocolate business for three years making stone-ground chocolate and desserts. Now I use it for fun and for making sprouted almond butter, coconut butter and tahini. Nothing beats sprouted stone ground almond butter and the smoothest coconut butter.
Water Cooler
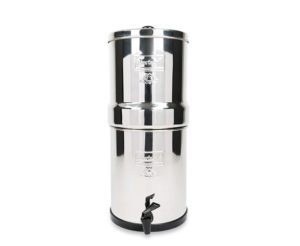
Having good, clean drinking water available at home has always been important to me. I’ve done so much research over the years on countertop water filtration systems and gone through a few before I found the one I love! Berkey brings you “Berkey water filters” to enable you to consume clean drinking water at your home. I have been using the Berkey water filtration system for 10 years and have only had to replace the water filters once. If you invest in one, I recommend a larger size so you have water for drinking, cooking, soaking and sprouting. I myself have the Royal size and it’s perfect. I also chose the extra fluoride filter options; even though they no longer have fluoride in the water here, I like to have that extra level of protection.
The Berkey water filtration system removes:
- Bacteria like E. coli – Greater than 99.9999%
- Chlorine – Removed to Undetectable Levels
- Heavy Metals – Greater than 99.9%
- Viruses – Greater than 99.9999%
- Pharmaceuticals – Greater than 99.5%
- Chloramines – Greater Than 99.9%
- Parasites – Greater than 99.9999%
- Fluoride – Up to 99.75% (Berkey PF-2 Fluoride & Arsenic Reduction Filters Required)
- Trihalomethane (THMs) – Removed to Undetectable Levels
- Petroleum Contaminants – Greater than 99.9%
- Bisphenol-A (BPA) – Greater than 99.9%
- Radiological – Greater than 95%
- Perfluorochemicals (PFOA) – Greater than 99.9%
- Herbicides & Pesticides – Greater than 99.9%
Here are links for Berkey water filters in certain regions:
RAW FOOD SMALL CULINARY APPLIANCES
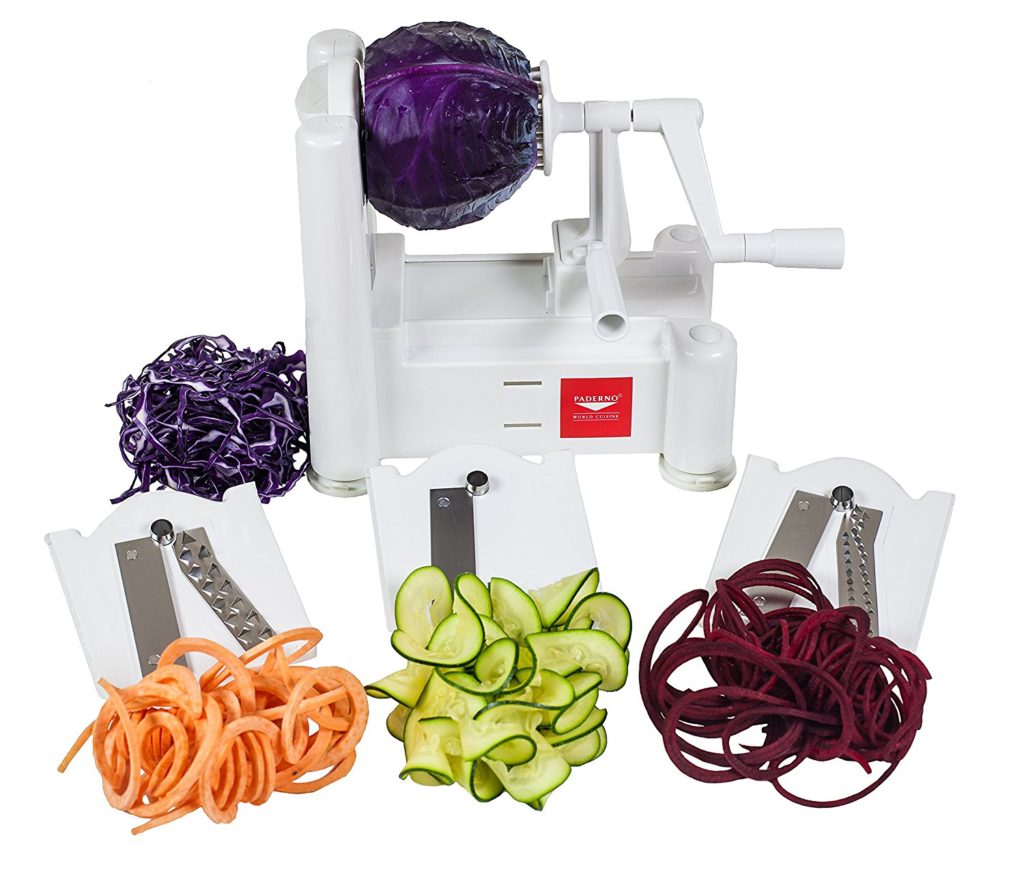
Spiralizer
A MUST-have when adding more raw food to your diet is a spiralizer. You can use this to replace noodles and add a fun texture to any dish or salad. It’s also a great prep tool for slicing cabbage, apples, onions; you would be surprised at the amount of produce you can spiralize. Some of my favorite spiralized noodles are zucchini, cucumber, sweet potato, turnip, daikon radish, and carrots.
There are so many different types of spiralizers now available. I have two types, one for larger type noodles and one for angel hair “pasta”. It’s fun to have the options to make different sizes of noodles to keep your raw dishes interesting.
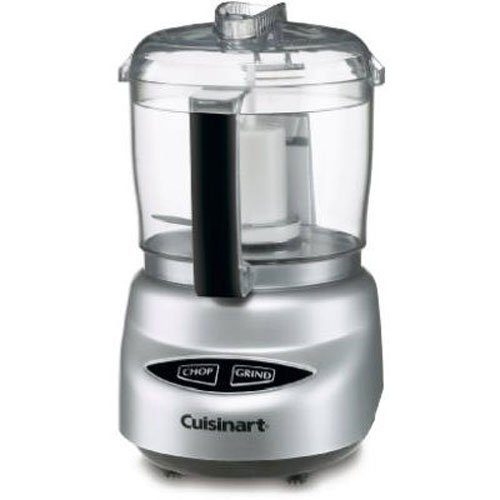
Mini Food Processor
A mini food prep is hand to have for small batches and making guacamole! I also use to blitz up beets and carrots for my salad when I’m in a rush! It’s definitely not a must-have but if you’re trying to come up with what you want for your birthday or next Christmas, add this to the list.
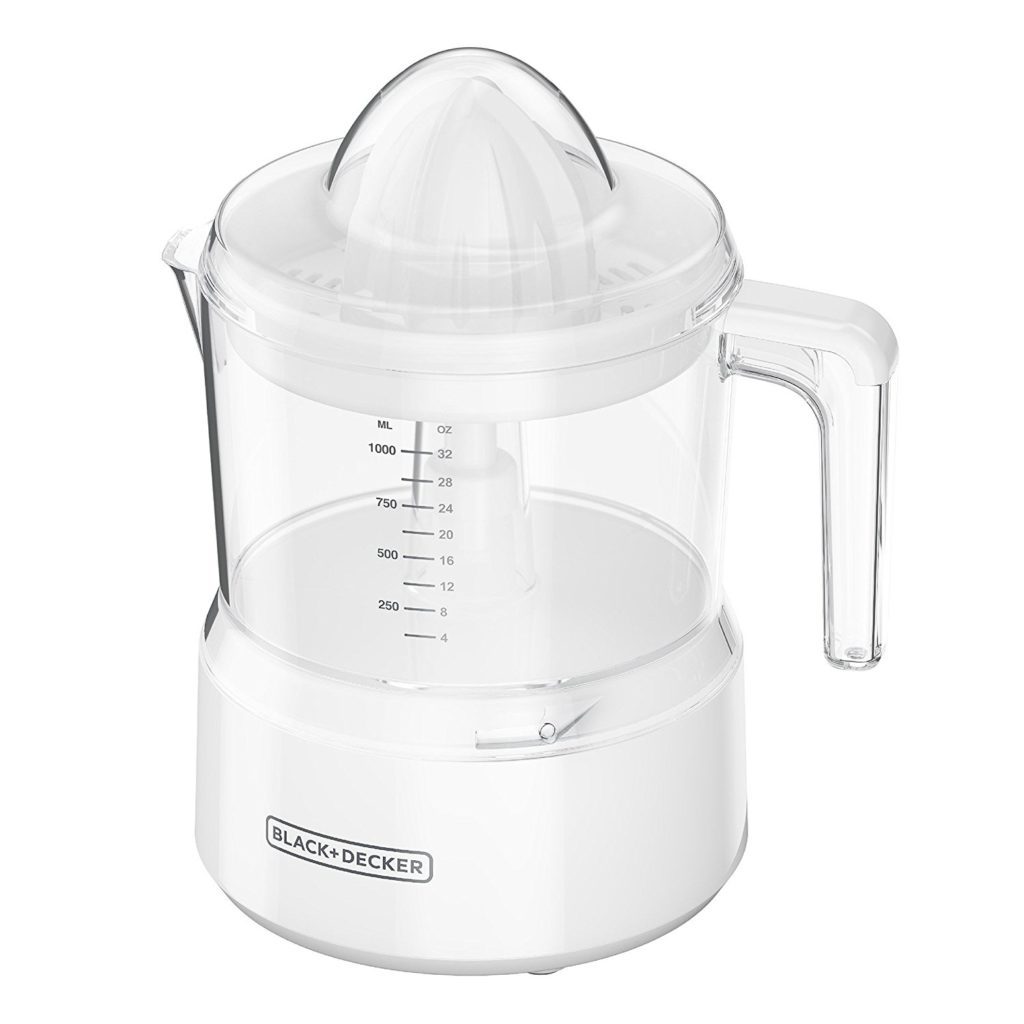
Citrus Juicer
If you’re in a pinch and you don’t have time to use your cold-pressed juicer, having a citrus juicer on hand makes it easy and quick to make your citrus juices for cooking. I use a lot of lemon juice in my dishes so I use this citrus juicer to make a batch ahead of time to keep in my fridge for up to 1 week. It will save you time on juicing lemons as you need them.
RAW FOOD CULINARY TOOLS AND GADGETS
I have A LOT of tools and gadgets so of course these are just recommendations (in no particular order) and purchase as you need them. I use these all in my kitchen in my day-to-day culinary adventures in my courses and in the free recipes you will find on my website and YouTube. The number one tool you should acquire right away is a good Chef Knife. And of course, it’s always good to have the essentials such as spatulas, whisks, mixing bowls, measuring cups, measuring spoons, strainers, etc.
GROWING YOUR OWN MICROGREENS AND SPROUTING AT HOME
Microgreens
Microgreens are nutrient-dense and bioavailable, making them a great addition to any dish. They also look pretty and elevate your recipes. Growing your own microgreens at home is very simple! A lot easier than you could imagine. Some people go all out and fancy and grow them in large trays in soil under growing lights. But, if you’re like me and you don’t have space for that, I got you! You don’t need all that fancy equipment if you’re just growing enough for yourself and your family.
During the lockdown, I started experimenting with microgreens and found this company in Canada that supplies super easy growing kits – The Micro Farmers. They are very inexpensive and supply trays, hemp growing mats, organic seeds and all the information to get you started. If you want to start growing microgreens at home I highly recommend them.
Although I have no experience with this company, they look like a good option for microgreen kits in the USA. If you have any recommendations for ones you use and recommend, please let me know and I will add them to this list.
The seeds I currently use and love are sweet greens, zesty radish, ruby stem radish, sweet peas, kale, broccoli, tangy choy, wasabi mustard and rapini. There are so many seeds to choose from, don’t be afraid to mix it up and try different varieties.
Sprouting
Sprouts are a powerhouse of nutrition and a great way to add living foods to your daily diet. During the sprouting process, we soak dormant seeds, nuts, legumes, and grains to germinate them and produce a living sprouted food added to salads and dishes. Sprouts are full of vitamins, minerals and antioxidants.
There are many varieties of sprouting jars available; if you have wide-mouth mason jars at home you can simply purchase sprouting lids for them (there are recommendations below). Sprouting stands are also convenient to have; it’s important to drain the sprouts after rinsing. If sprouts are submerged in water they will not sprout.
Sprouting Equipment:
How to sprout your own seeds at home:
Dry seeds are dormant and are awakened and germinated after soaking, allowing them to sprout. Seeds left in water will never sprout. It is important to rinse them well after soaking. There are many varieties of salad sprouting seeds, the most popular being alfalfa, broccoli, clover, radish, mustard, and fenugreek. Sprouting time depends on the seeds used and the environment. Average sprouting time takes approximately 3 to 5 days.
You will need:
- 1 – 2 tbsp sprouting seeds (If you have a large jar, use 2 tbsp. If using a small jar, 1 tbsp.)
- Filtered water
Place seeds in a sprouting jar, rinse well and soak for 4 hours. Drain water and place jar in sprouting stand to allow for water to drain. Rinse 2 to 3 times a day and allow to sprout for 3 to 5 days until they turn green and grow long sprouts. Rinse and drain sprouts well, let drain, and then air dry on a paper towel, tea towel, or dish drying mat. Once dry, transfer to a sealed container. Will keep in a sealed container in the fridge for up to 5 days.
It is important not to overcrowd the jar with too many seeds. As the sprouts grow, they will exponentially increase in size and it will be difficult to rinse them properly.
Where to purchase organic, non-GMO sprouting seeds:
I purchase all my organic, untreated sprouting seeds from West Coast Seeds here in Canada. They provide the highest quality selection of seeds, ethically sourced from sustainable growers around the globe. Their independent, government-certified seed laboratory conducts regular, intensive trials to ensure that our seeds meet or exceed the Canada Number One germination rate. West Coast Seeds only offers non-GMO seeds, suitable for organic growing and never chemically treated.

I hope you find this extensive list helpful! If you have any questions or recommendations to add, please send me an email via the contact page. 🙂